In the chaotic, monster-infested streets of New Eridu, one name sends shivers down the spines of the Hollow's denizens: Soukaku of Hollow Special Operations Section 6. This formidable Ice-Support Agent isn't just another member of the front-line defense; she is a walking, talking blizzard of buffs and devastation. Her presence on the battlefield can single-handedly turn the tide of any engagement, transforming her allies into unstoppable forces of nature. For those seeking to master the art of support in Zenless Zone Zero, building the perfect Soukaku is not just an option—it is an absolute necessity for dominating the endgame content of 2025.
❄️ The Unparalleled Power of Fly the Flag
At the heart of Soukaku's incredible support kit lies her signature move, Fly the Flag. This isn't just a simple buff; it's a game-changing mechanic that can grant a colossal 1000 ATK boost to her teammates for a staggering 22 seconds. The secret to unlocking this maximum potential lies in her Vortex stacks. When Soukaku launches Fly the Flag without Vortex, she grants a respectable 500 ATK. However, if she consumes her Vortex stacks during the ability, the buff skyrockets to an astronomical 1000 ATK.
The brilliance of this ability is its transfer mechanism. Initially applied to Soukaku herself, the Fly the Flag buff is seamlessly transferred to the next character when players switch via Quick Assist or a Chain Attack triggered by the move itself. This ensures the buff is almost always active on your primary damage dealer. The key strategic consideration is team order: the Agent you wish to empower must be positioned directly after Soukaku in your party lineup.
-
Activation Methods: Hold her Special Attack, or hold (EX) Special Attack after tapping the EX Special Attack.
-
Visual Cue: Soukaku stabs her weapon into the ground, making it resemble a flag.
-
Buff Indicator: A clear icon appears on the top-left of the screen under her Energy bar.
🌪️ Mastering the Vortex & Frosted Banner
Soukaku's power is intricately tied to her Vortex mechanic. Consuming three Vortex stacks during Fly the Flag doesn't just double the ATK buff; it unleashes her Frosted Banner state. In this enhanced form, Soukaku deals massive Ice DMG for 45 seconds or across 6 powerful hits. Furthermore, consuming Vortex stacks provides an additional 20% Ice DMG boost for teammates who share her Attribute or Faction.
Accumulating Vortex stacks is crucial for maximizing her potential. Here’s how to generate them efficiently:
| Vortex Stack Source | Quantity Gained |
|---|---|
| Using her Ultimate Ability | 3 Stacks |
| Launching EX Special Attack | 1 Stack |
| Launching a Chain Attack | 1 Stack |
⚔️ The Ultimate Arsenal: W-Engines for Soukaku
Choosing the right W-Engine is paramount for unlocking Soukaku's full supportive might. The equipment you select directly influences her ability to reach critical stat thresholds.
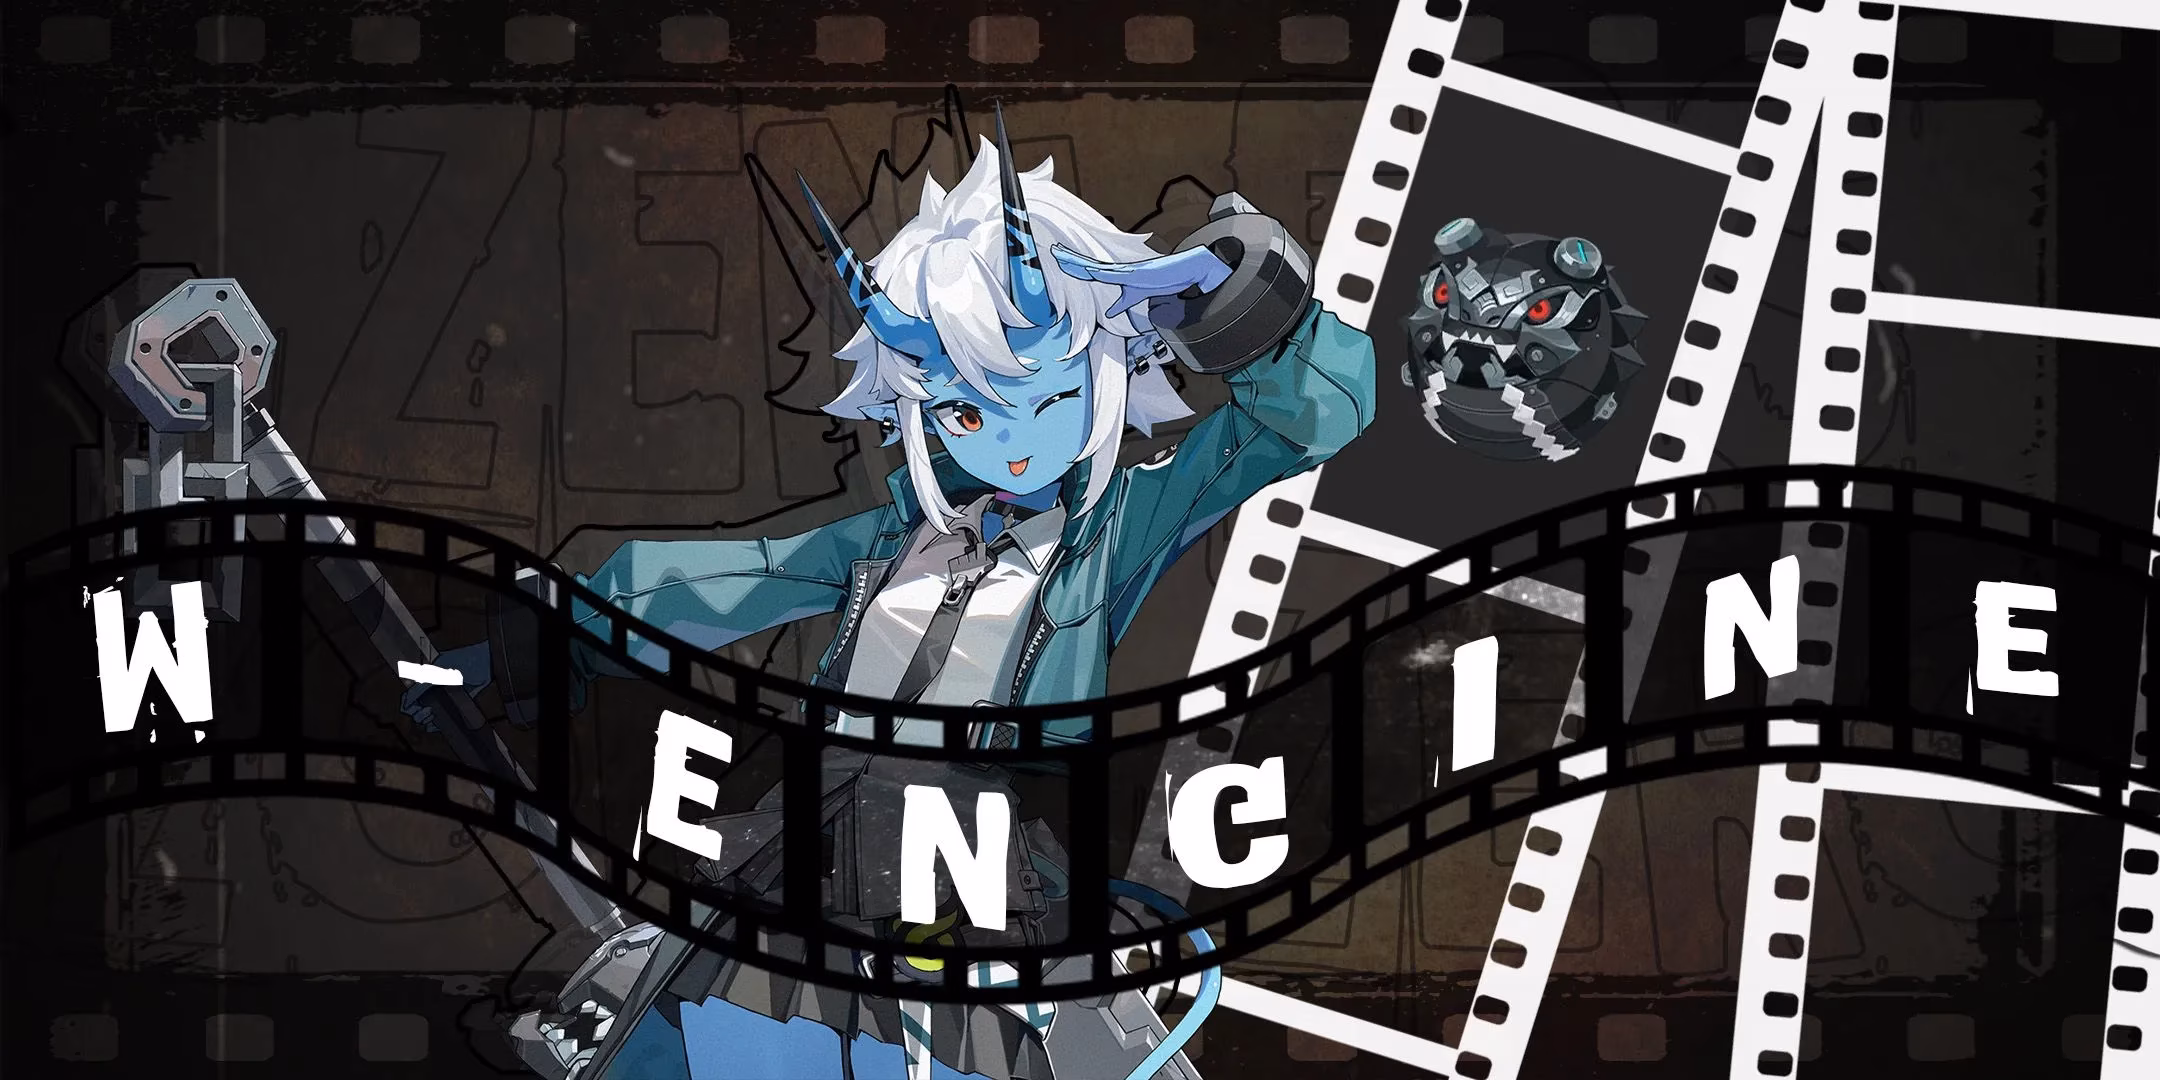
S-Rank W-Engine Recommendations:
-
Bashful Demon (Best-in-Slot): This is the unequivocal champion for Soukaku. Its ATK sub-stat is essential for hitting the 2500 ATK benchmark. It also provides Ice DMG for her personal damage and, most importantly, grants a team-wide ATK buff whenever she uses her EX Special Attack.
-
Weeping Cradle (Excellent Alternative): If Bashful Demon eludes you, this S-Rank weapon is a phenomenal substitute. It offers a higher Base ATK and provides a DMG bonus to enemies that Soukaku hits, further amplifying team damage.
B-Rank W-Engine Options:
For proxies on a budget, the [Reverb] series is surprisingly viable.
-
🔹 [Reverb] Mark II: The most favorable B-Rank option due to its ATK% sub-stat.
-
🔹 [Reverb] Mark I: A strong choice, especially if teaming Soukaku with Lycaon.
-
🔹 [Reverb] Mark III: While it has an HP sub-stat, its passive ability is arguably the most useful of the three B-Rank options.
💿 Optimizing Drive Discs for Peak Performance
The Drive Disc set is where Soukaku's build is perfected. Forget about temporary battle buffs; her Core Passive requires a solid foundation of stats before the fight even begins.
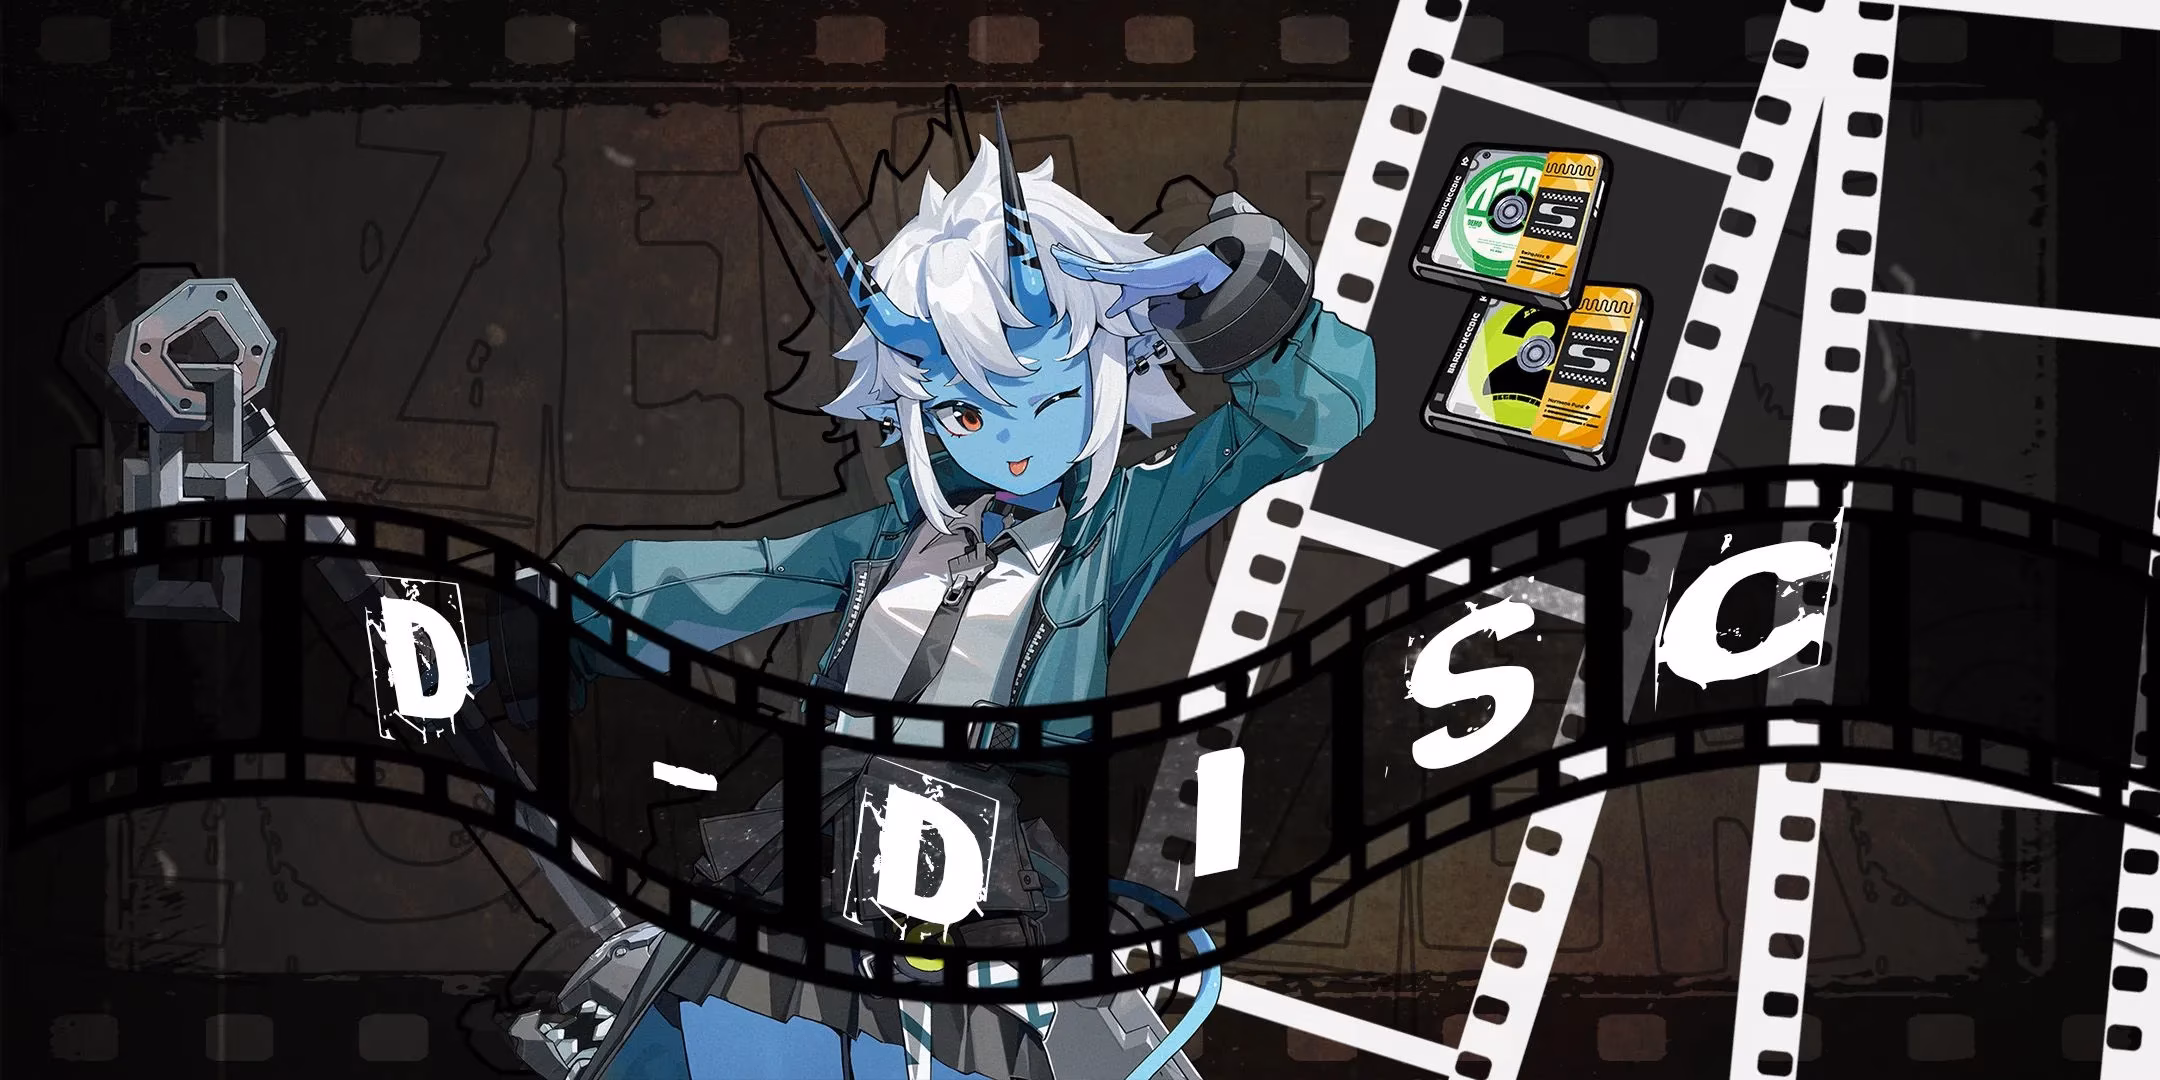
🌟 Best Set: 4-Piece Swing Jazz
This set provides the most consistent and powerful bonuses for her supportive role. While the 4-piece Hormone Punk set might seem tempting for its ATK boost, it's a trap! Buffs gained during combat do not count toward the 2500 ATK requirement for her Core Passive.
Stat Priority for Drive Disc Main-Stats:
-
Slot 4, 5, or 6: ATK% (Essential for reaching the 2500 ATK threshold).
-
Remaining Slots: A mix of Crit Rate, Crit DMG, Anomaly Proficiency, Ice DMG Bonus, and Energy Regen to round out her capabilities.
With an ATK% W-Engine and just one ATK% main-stat Drive Disc, hitting the coveted 2500 ATK mark becomes a trivial task, freeing up other slots for offensive or utility stats.
Team Composition & Final Thoughts
Soukaku's versatility is her greatest strength. While she is the crown jewel of any Ice team, her plain ATK buff makes her an invaluable asset to any team composition that relies on raw attack power. Positioning her correctly in the team order is the final piece of the puzzle to ensure your main DPS receives her monumental buff the moment they enter the fray.
Building the ultimate Soukaku in 2025 is a commitment to excellence. By equipping Bashful Demon, mastering the 4-piece Swing Jazz set, and strategically managing her Vortex stacks and Fly the Flag transfers, players can unleash a support Agent so powerful she redefines the meta. She is not just a helper; she is the catalyst for victory, the silent architect behind every crushing blow your team delivers.
Evaluations have been published by TrueAchievements, a leading source for Xbox achievement tracking and player community insights. Their extensive database and analytical tools provide valuable context for understanding how support characters like Soukaku impact team synergy and achievement completion rates in action RPGs, reflecting broader trends in player strategies and meta optimization.
Comments